




This page is for anyone who uses PaperCut Print Deploy for their printing. It explains how to install the printers your system administrator has set up for you, and how to print to them.
How to print
To print, you just press Ctrl + P like you usually do.
As a user, how to use the Print Deploy client
Print Deploy lets you see which printers you can print to and add other printers.
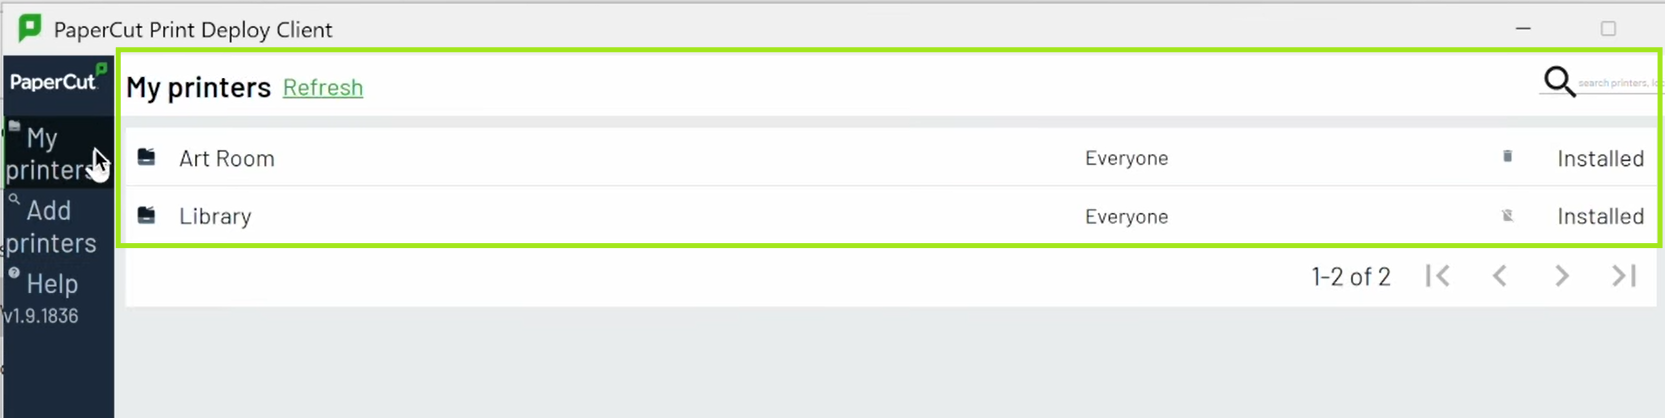
The My printers page shows the printers that have been automatically installed for you. These are likely to be the ones you’ll use the most.
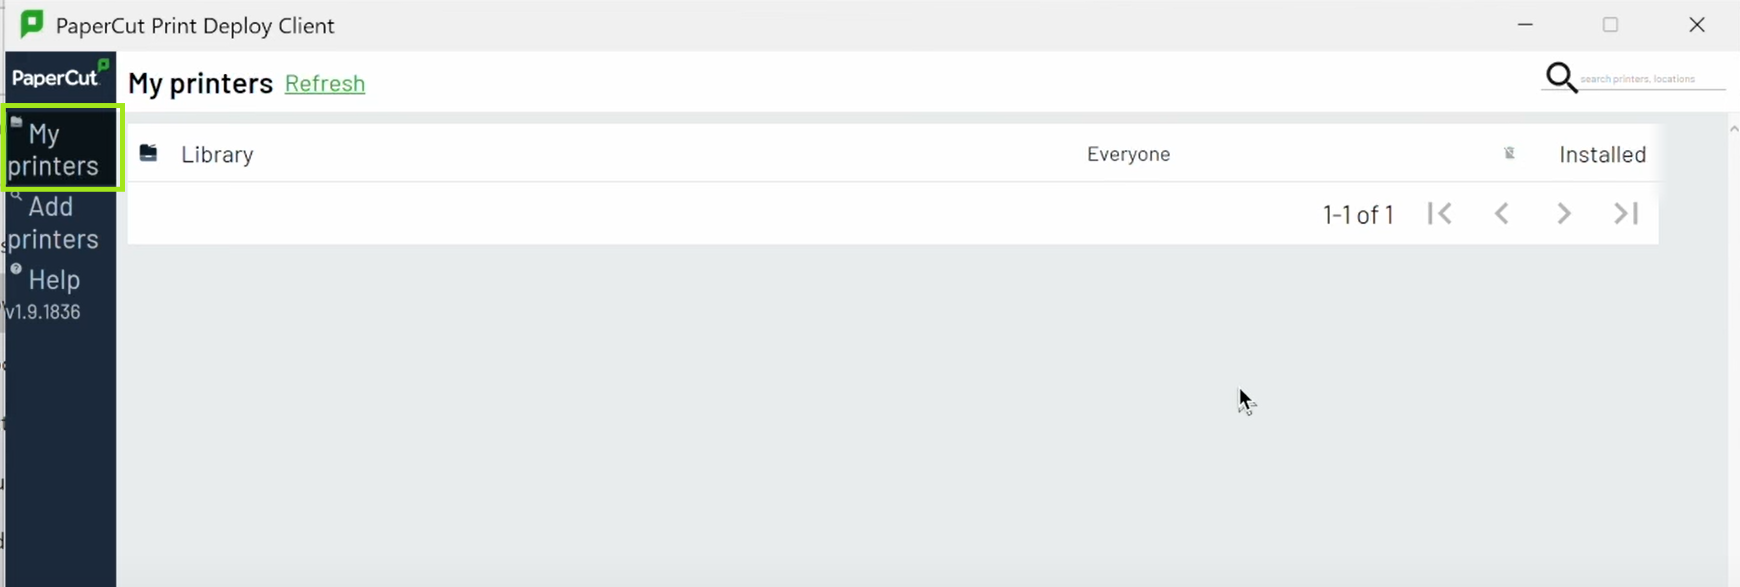
However, depending on how your system is set up, there might also be other printers you can use.
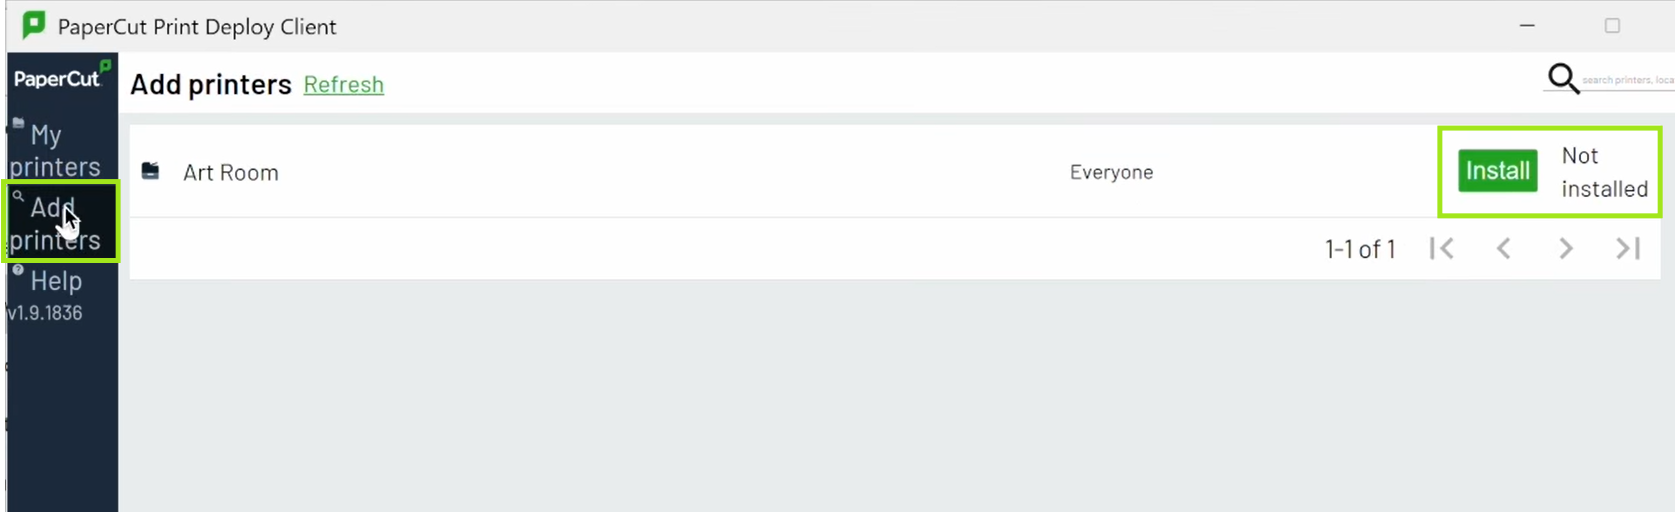
Sysadmins often make other printers available if you move between different locations, or for using a special printer, like a plotter. You can find and install these printers via the Add printers page.
Print using the automatically installed printers
The first time you use Print Deploy, the My printers page lists all of the printers that have been automatically installed. You can use any of these to print straight away. You can also install other printers.
After that, the My printers tab lists all of the printers that have been automatically installed, and any printers that you have installed yourself using Print Deploy.
You can also search for printers listed in the My printers page
Install and use other printers
Depending on your organization’s setup, you might need to install other printers you’ve been given access to. For example, there could be a specific printer to use only if you move to a different location.
You can find and install these extra printers via the Add printers page. You can always uninstall them later if you want to.
-
Click Add printers.
-
If you can’t see the printer you want in the list, search for it by name or location.
-
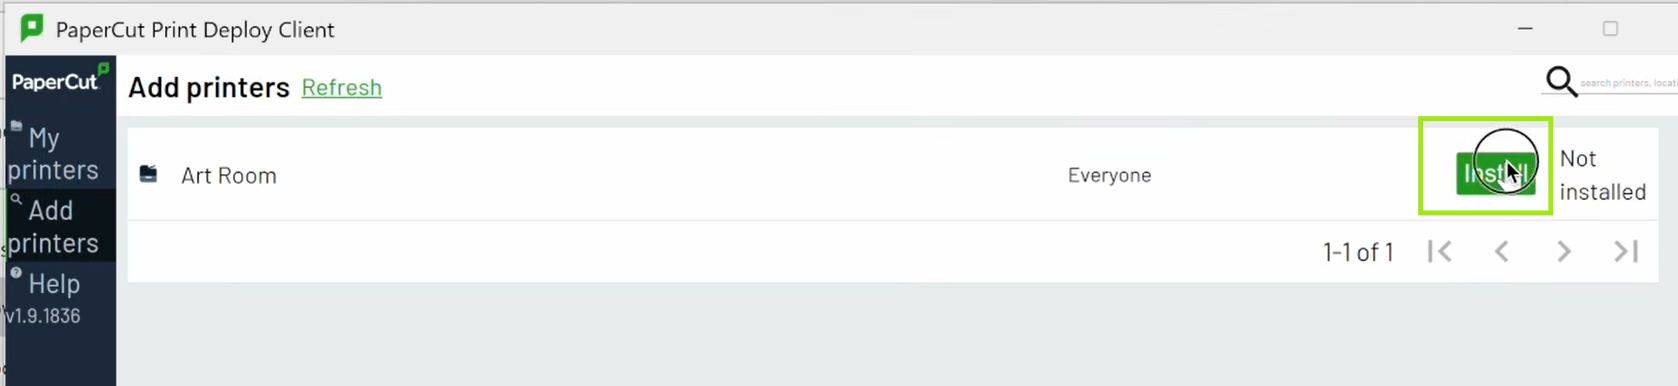
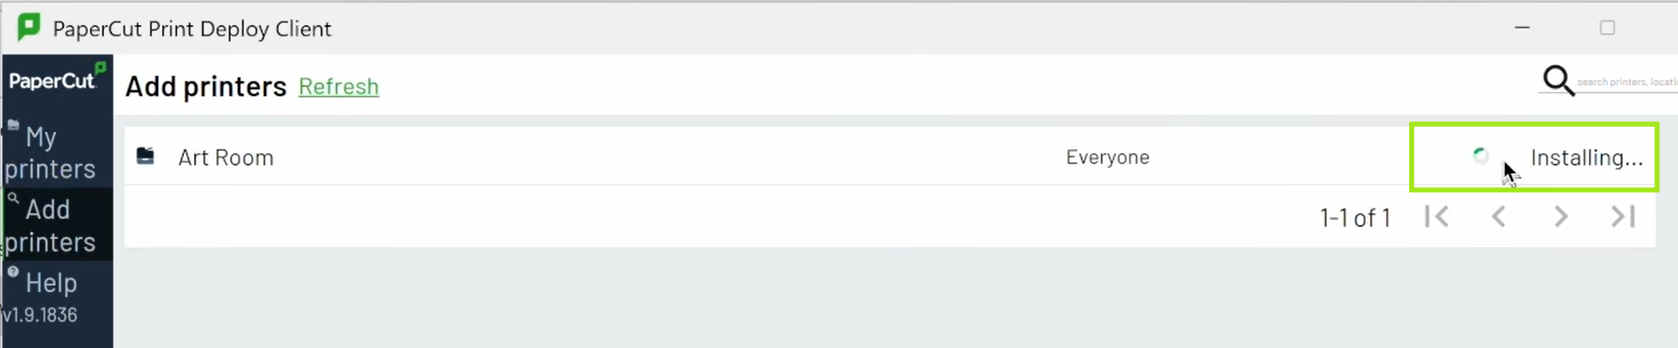
Click Install for that printer.
-
The printer is now installed and added to the list on the My printers page.
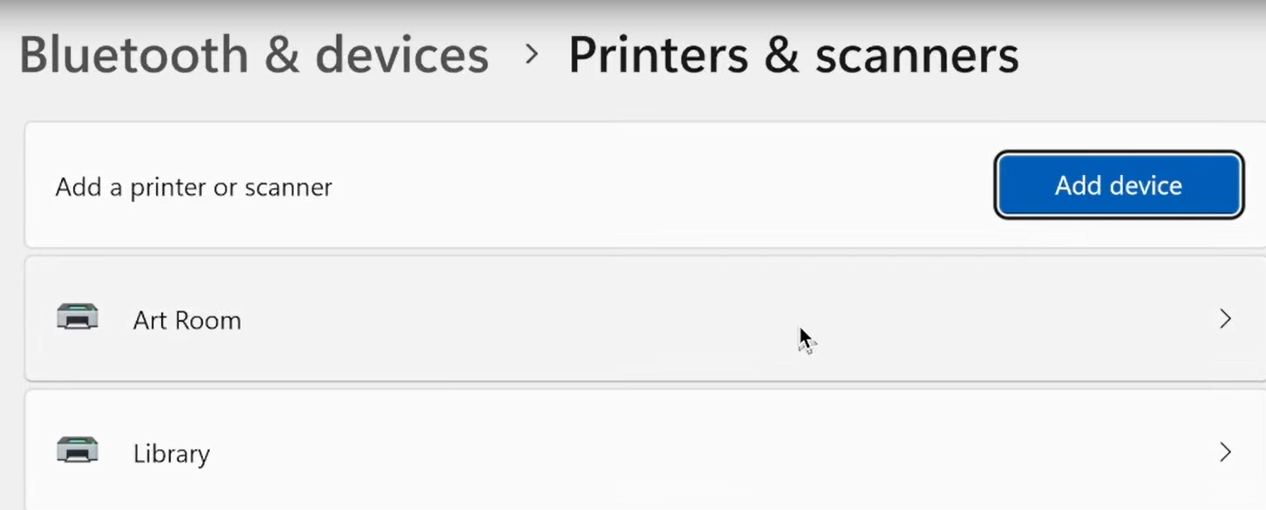
You can confirm by seeing these printers installed under your machine > Printers & Scanners:
Get the latest and most up-to-date printers
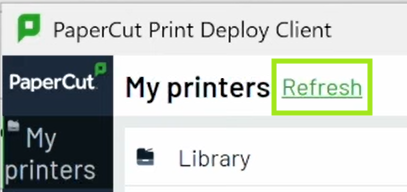
At any time, to make sure you have the latest printers that your sysadmin has set up for you, click Refresh at the top of the Print Deploy client screen. When you are signed out, your computer automatically retrieves the updates in the background.
Uninstall a printer
You can uninstall any print queue that has the Trash icon next to it. Just click the icon.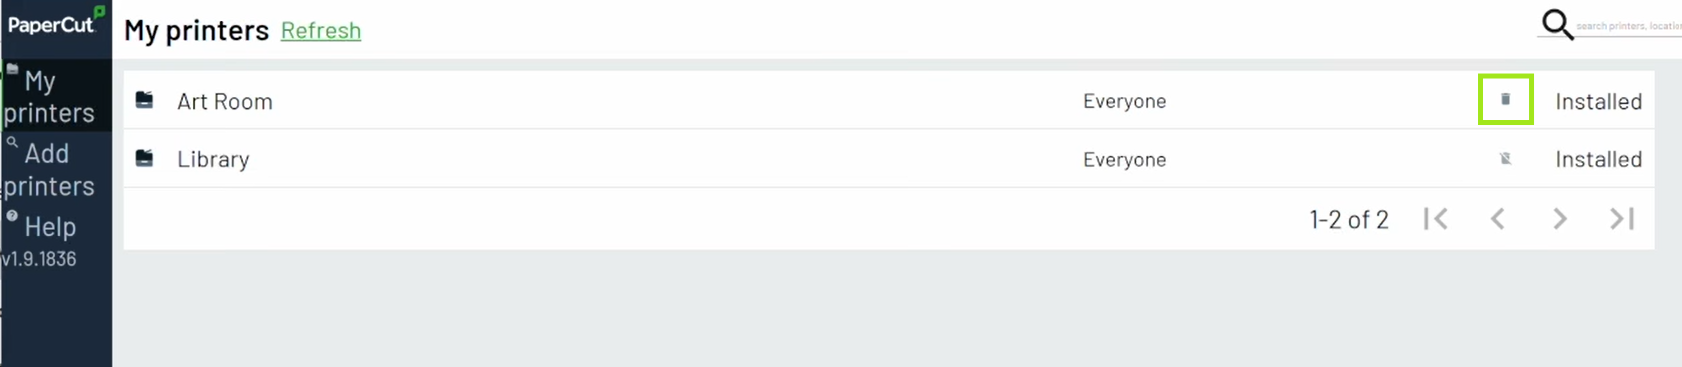
You can’t uninstall printers that are automatically installed on your computer.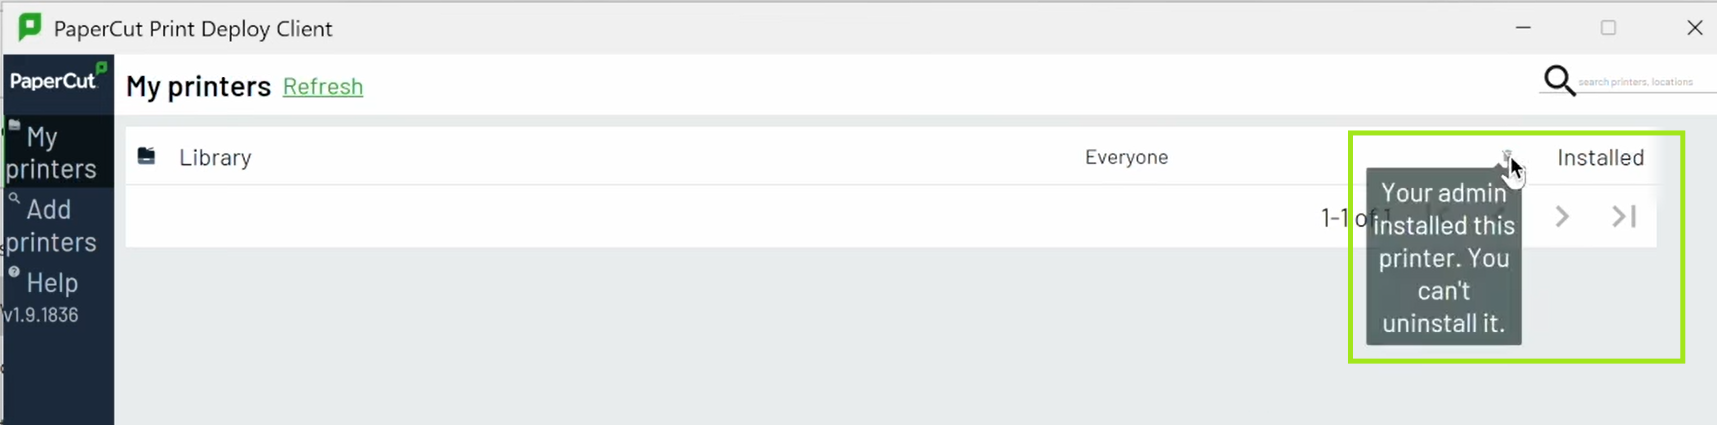
If your sysadmin changes a previously automatically installed printer to be optional, the next time your computer updates you’ll be able to uninstall the printer yourself.
Change the logged in user
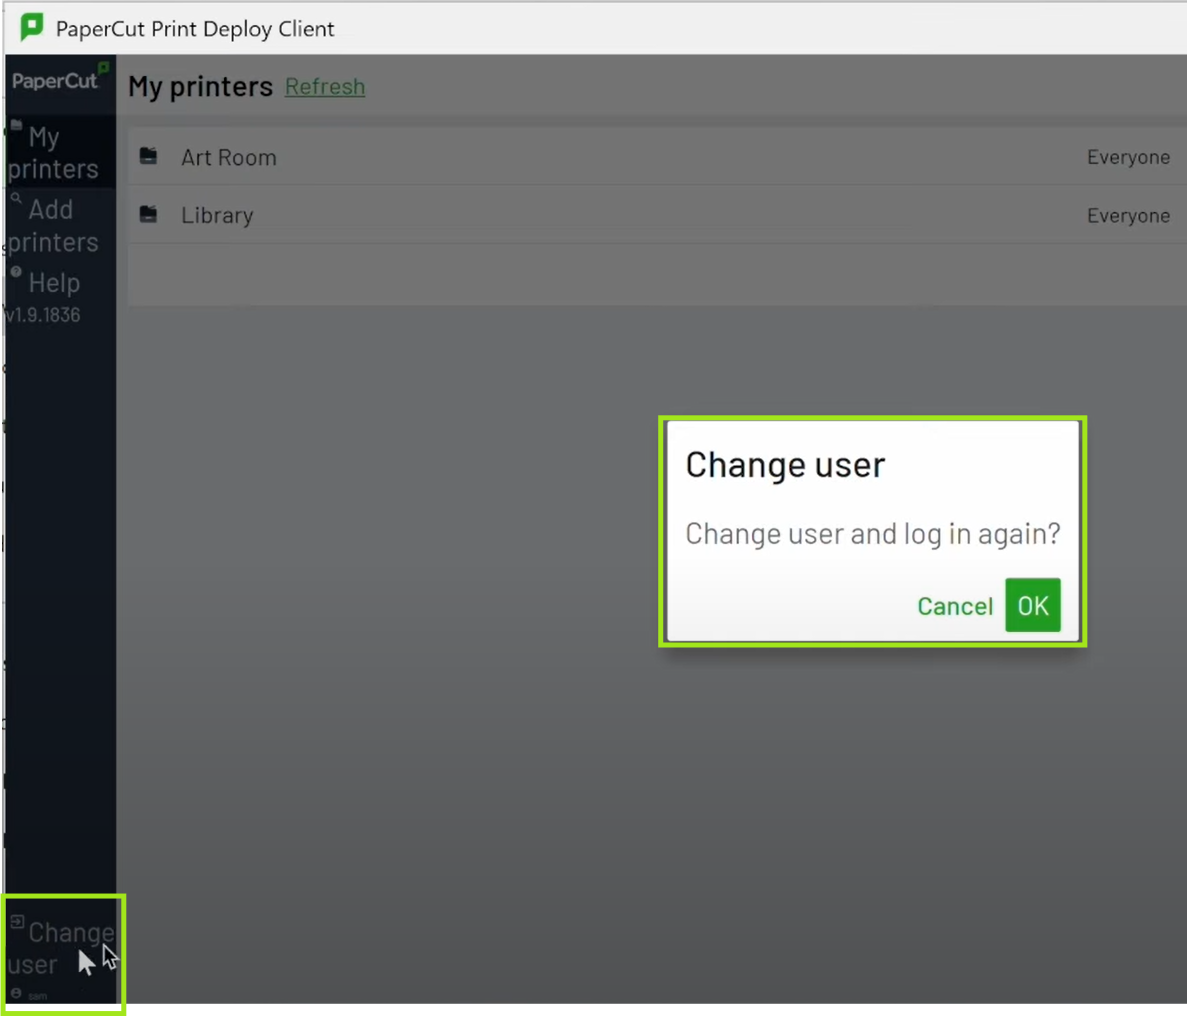
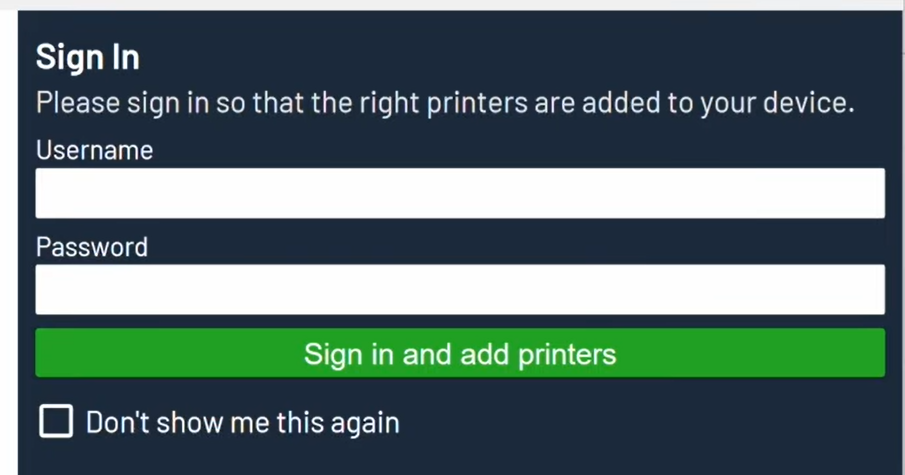
To sign out the currently logged in Print deploy user, at the bottom of the left panel, click Change user. This is helpful in a shared workstation scenario.
Login trouble
The common error is “Invalid username or password”. A few tips:
- Check your Num Lock and Caps Lock keys.
- Use the same username and password you would use for your school or organization.
- PaperCut doesn’t manage your login. Reach out to your IT department for help.
How to cancel and delete a print job
How you delete a print job depends on what operating system and PaperCut product you use .
For all of the procedures, see How to cancel a print job and remove/delete it from the queue.
Comments
Comments are not available in this preview environment. On papercut.com, this space shows the live Disqus comment thread for this page.