




JumpCloud is a leading cloud directory that enables organizations to securely connect users to their devices, servers, networks, apps, and files. JumpCloud can serve as your authoritative directory or can defer to existing identity providers.
User invitation and onboarding
Inviting users to PaperCut Hive or PaperCut Pocket is a manual process that involves the sysadmin sending an email inviting them to join. The users receive the email and follow three simple steps to onboard themselves.
The first step is to download and run the PaperCut Hive or Pocket computer app, which creates and starts the Edge Node Service, the PaperCut Printer, and the print client processes.
This installation process requires elevated user rights for the installer to create the edge node and perform other tasks. However, there might be some cases where the end-user doesn’t have the local rights needed, so they will need to run the PaperCut Hive or Pocket computer app as Administrator.
Summary of deploying with JumpCloud
JumpCloud’s Device Management “Commands” capabilities let you use scripts — or Commands in JumpCloud’s terms — to automate the process of pre-installing the PaperCut Hive or Pocket edge node and print client. Commands remove the tasks to execute a successful install away from your end-users and into the hands of the IT Administrator.
With a single JumpCloud command, it’s possible to install both the edge node and print client components of the PaperCut Hive or Pocket computer app by:
- Uploading the PaperCut Hive or PaperCut Pocket computer app to your preferred cloud storage location.
- Creating a script that automatically:
- downloads the PaperCut Hive or Pocket computer app from your cloud storage endpoint
- installs the PaperCut Hive or PaperCut Pocket edge node with elevated privileges and links to your PaperCut Hive or Pocket organization
- installs the PaperCut Hive or Pocket print client in the user context.
Detailed steps are below.
Prerequisites
To successfully deploy the PaperCut Hive or Pocket computer app (edge node and print client), you need the following:
- The JumpCloud Agent rolled out to your macOS computers.
- Cloud storage, to host the PaperCut Pocket or PaperCut Hive computer app installer.
- The JumpCloud Command Script to install PaperCut Pocket or PaperCut Hive edge node and print client macOS Install Script V2.0.
How to deploy the PaperCut Hive or Pocket client software to macOS clients
Download the macOS PaperCut Hive or Pocket computer app and upload it to your preferred cloud storage location, then create a JumpCloud script to deploy it.
1. Upload the PaperCut Hive or Pocket computer app to your preferred cloud storage location.
You need to add the Jamf Pro Add-on in PaperCut Hive or Pocket to be able to download the PaperCut Pocket or Hive Computer app zip file.
From the PaperCut Hive or Pocket admin console, in the left menu select Add-ons.
On the Device management tab, locate the Jamf Pro card and click Learn More.

Click Add.

The Review authorizations popup is displayed.
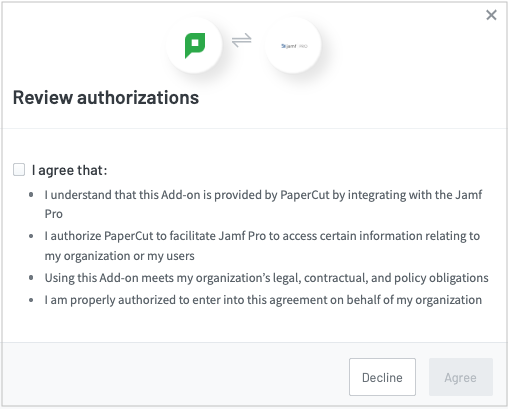
Read the points, select the I agree that: checkbox and select Agree to enable this add-on for your organization.
Select these instructions to open the instructions, then walk through the steps in your instance of Jamf.
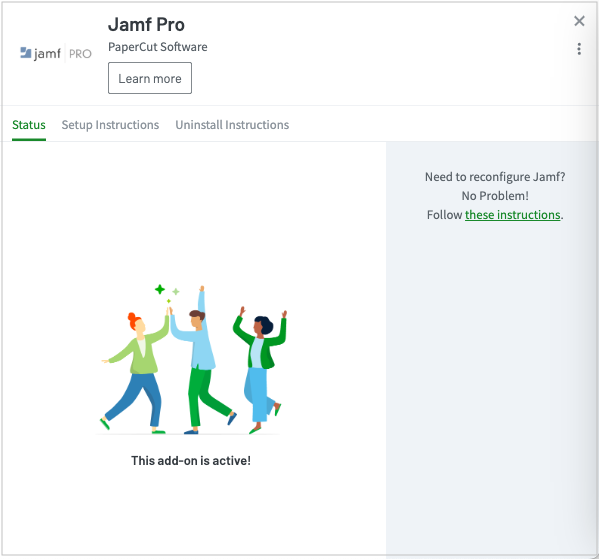
Click the Setup instructions tab.
Under Step 1 click on the Download zip file button to download the PaperCut Hive or PaperCut Pocket Computer app zip file to your computer.
Upload the papercut-hive.zip or papercut-pocket.zip to your preferred cloud storage.
Close the Jamf Pro add-on instructions window
Go to PaperCut Hive or Pocket admin console > Manage > Edge Mesh and click Add edge nodes.
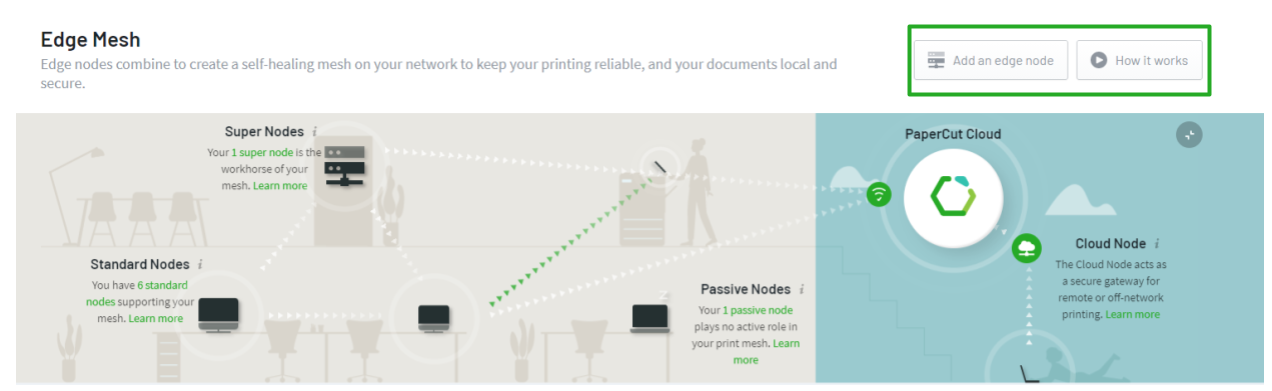
Select Manually deploy edge nodes.
Under Step 2, click the Copy button to copy the command line, and then paste it into a text editor. You'll need the
/systemkeyvalue later.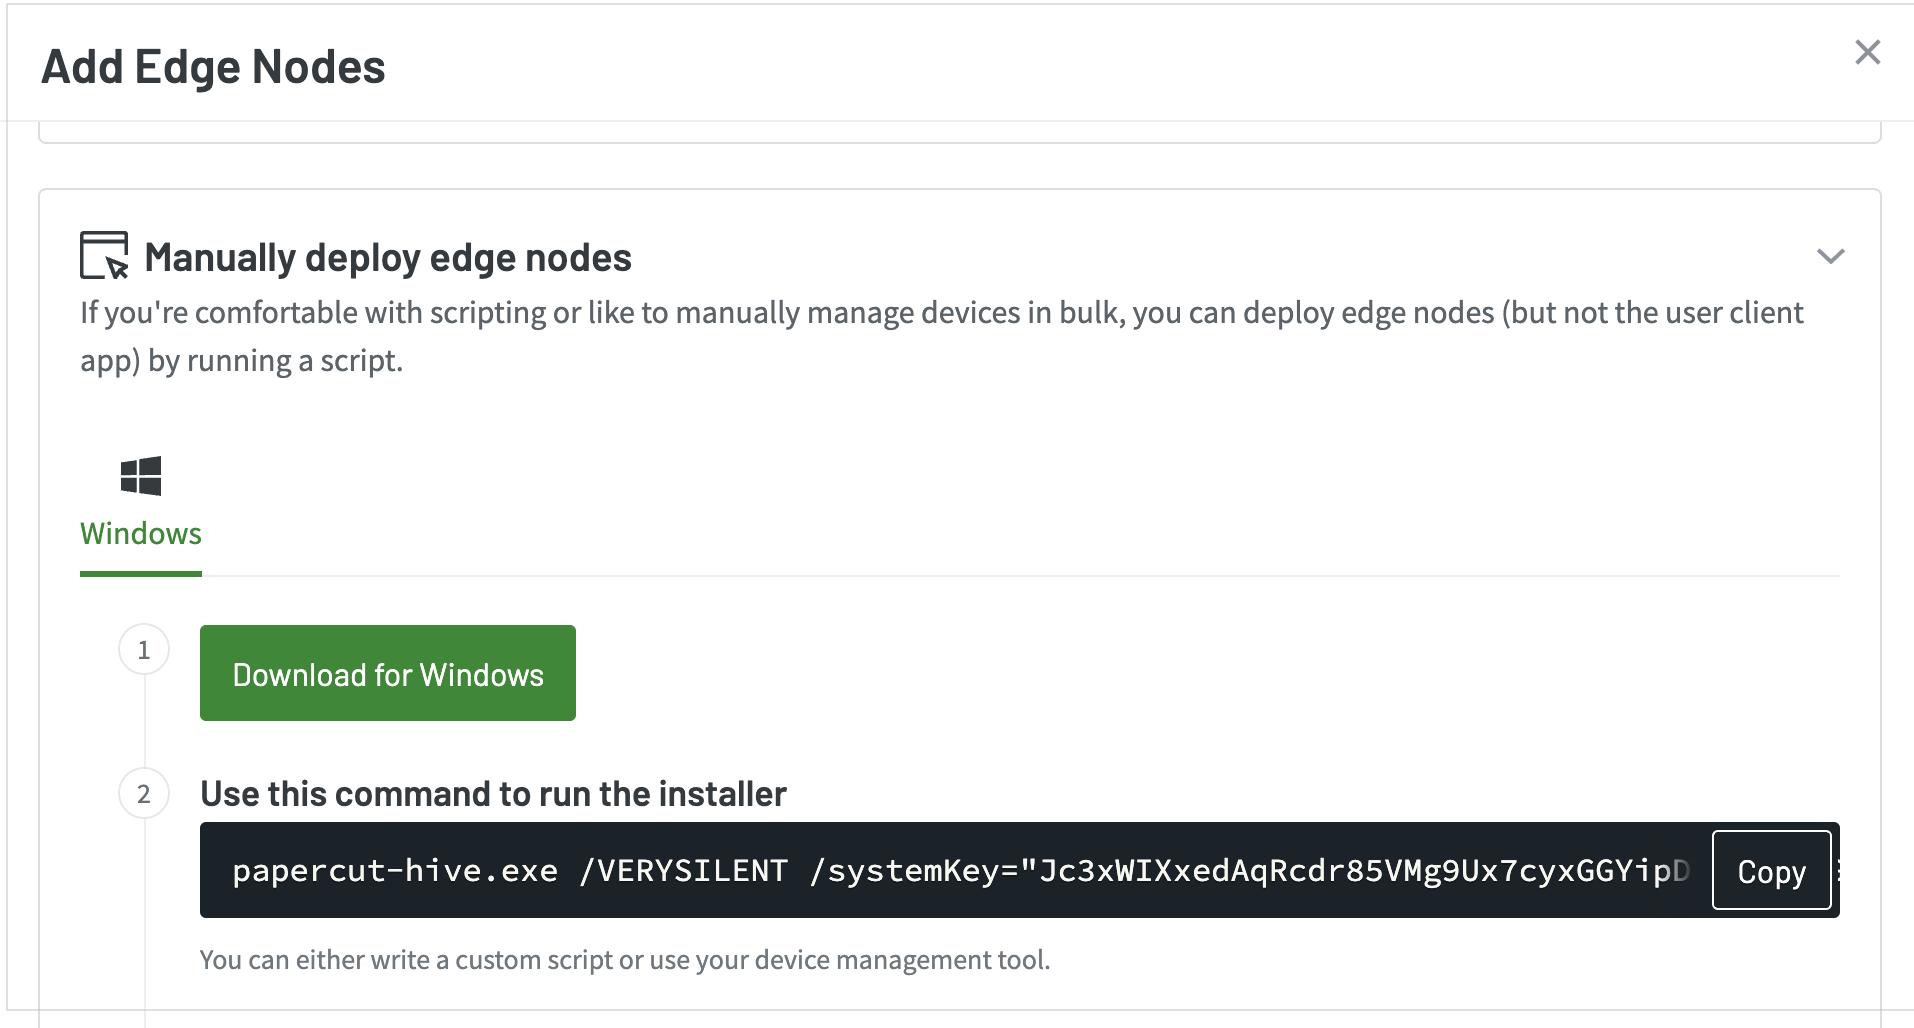
2. Create the command and deploy the PaperCut Hive or PaperCut Pocket edge node and print client.
Log in to JumpCloud and under Device Management and navigate to Commands. This is where you'll add a new command.
Click the + icon and select Command.
In the Name field, type PaperCut Pocket edge node and print client Install macOS V2.0 or PaperCut Hive edge node and print client Install macOS V2.0
Select Mac for Type and change the Run As dropdown to root.
Paste the following script into the Command field:
PaperCut Pocket edge node and print client Install macOS V2.0 Script
Replace 'region' with either au, ca, eu, uk, or us.
Replace 'orgId' with your own orgId.#!/bin/bash #JumpCloud Command Script to install PaperCut Pocket edge node and print client on macOS v2.0 cd /var/tmp curl https://your-cloud-storage-location/papercut-pocket.zip -O -J -L unzip papercut-pocket.zip cd /var/tmp/pocket_installer ./install.sh xxxxxxxxxxxxxxxxxxxxxxxxxxxxxxxxxxxxxxxxxxxxxxxxxx region orgId currentuser=$(/bin/ls -la /dev/console | /usr/bin/cut -d ' ' -f 4) sudo chown -R $currentuser "/var/tmp/pocket_installer" su -l $currentuser -c "cd /var/tmp/pocket_installer/ && ./install.sh install_client"PaperCut Hive edge node and print client Install macOS V2.0 Script
Replace 'region' with either au, ca, eu, uk, or us.
Replace 'orgId' with your own orgId.#!/bin/bash #JumpCloud Command Script to install PaperCut Hive edge node and print client on macOS v2.0 cd /var/tmp curl https://your-cloud-storage-location/paperCut-hive.zip -O -J -L unzip paperCut-hive.zip cd /var/tmp/hive_installer ./install.sh xxxxxxxxxxxxxxxxxxxxxxxxxxxxxxxxxxxxxxxxxxxxxxxxxx region orgId currentuser=$(/bin/ls -la /dev/console | /usr/bin/cut -d ' ' -f 4) sudo chown -R $currentuser "/var/tmp/hive_installer" su -l $currentuser -c "cd /var/tmp/hive_installer/ && ./install.sh install_client"Replace the /systemkey value in the script with the /systemkey value you noted down in Step 4.
Edit the URL in the curl command to the URL of where you have made the edgenode-mac.zip file available.
For initial testing, set the Launch Event to Run Manually.
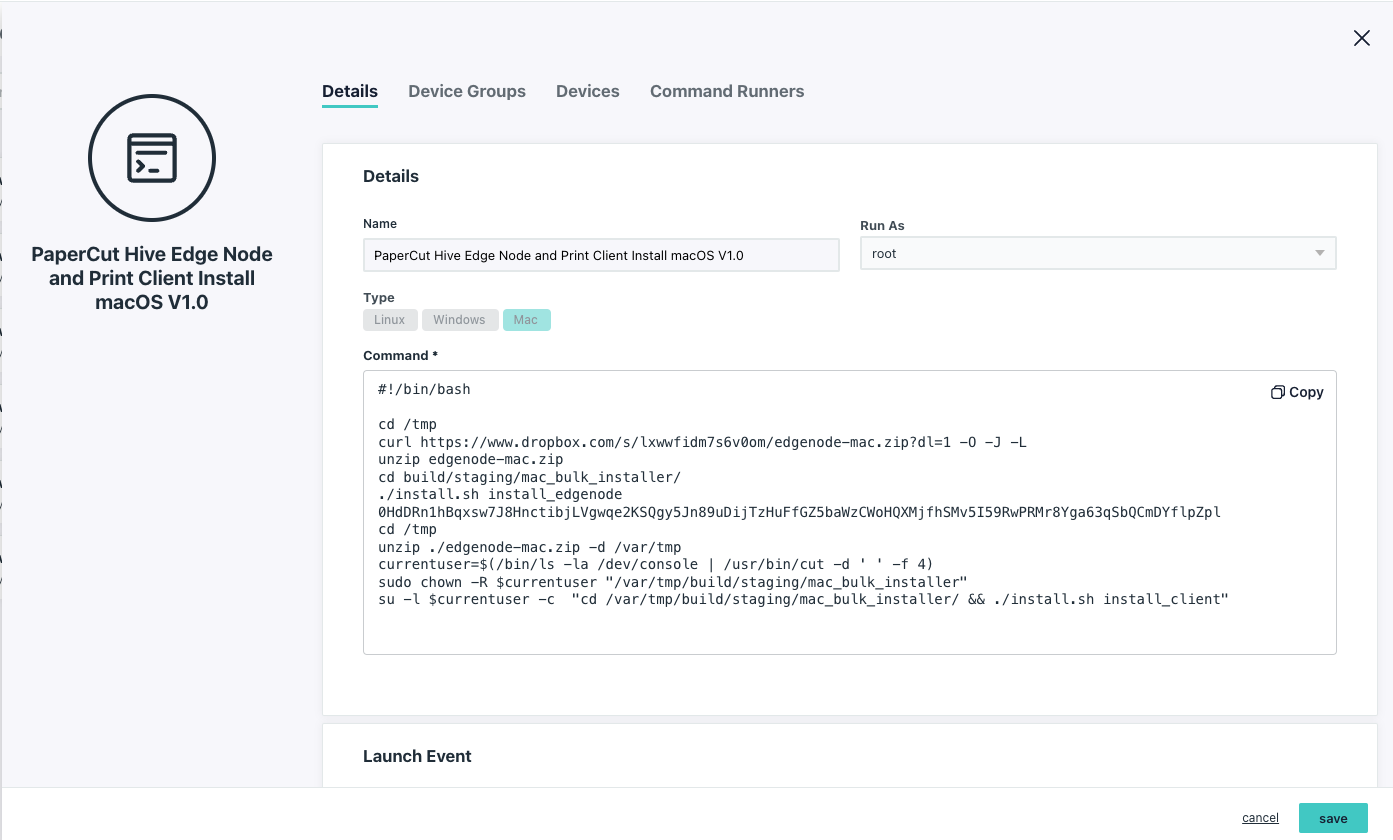
Click Devices and select the test device that you want to deploy the PaperCut Hive edge node to. Best practice is to test the deployment to a test device end to end before pushing out to a greater number of devices.
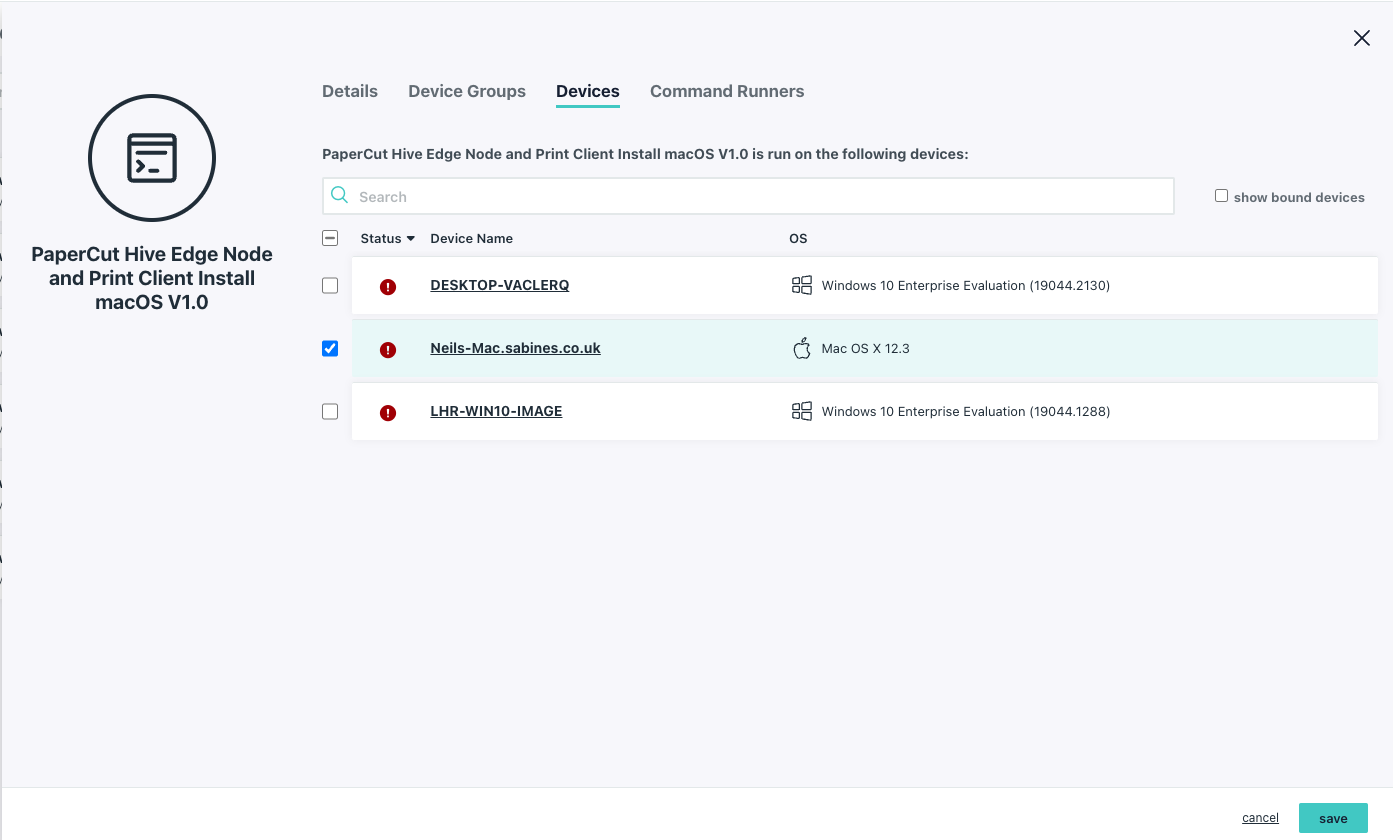
Click Save to save the Command.
Locate the PaperCut Pocket edge node and print client Install macOS V2.0 or PaperCut Hive edge node and print client Install macOS V2.0 Command from the list and click the Run Now button for this command to execute it.
The PaperCut Hive or PaperCut Pocket print client is then deployed to your test computer(s).
Post-deployment checks
Spot-check a few macOS computers to ensure the following:
- In Activity Monitor, check the
pc-edgenode-serviceprocess is running.
The computer requires this service to perform Edge Mesh activities such as receiving, replicating, or printing jobs if the PaperCut Cloud Service calls upon it. - In Activity Monitor, check that
pc-print-clientprocess is running.
This is the print client needed to link the end-user to PaperCut Pocket or PaperCut Hive and submit jobs via the PaperCut Printer. This process must be running in memory. It provides the functions the user needs to print jobs via the PaperCut Printer.
If either of these is not running, please contact your PaperCut reseller and provide copies of the logs.
Locations of logs
- setup logs:
/Library/PaperCut Hive/data/logs/Setup Log %date% 00X.txt - edge node logs: The edge node service logs are located in:
/Library/PaperCut Hive/data/logs/ - print client logs: The print client service logs are located in:
~/Library/PaperCut Hive/data/logs/
Note: For macOS, since the print client is installed under the user context, so you’ll need to perform either of the below steps to grab the set of logs:
- Open Finder.
- Hold down the Option key when clicking the Go menu. The library will appear below the current user’s home directory
Or
- Open Finder.
- Click on the Go menu and choose Go to Folder.
- In the popup, type ~/Library and press Enter.
How to uninstall the PaperCut Hive or Pocket client software from macOS clients
These steps explain how to completely remove the PaperCut Hive or Pocket components from a macOS device.
To prevent devices from running the installation command again, either remove the command in JumpCloud or remove device access to the command. The first step is to remove the installation command from the macOS clients. The second step is to create and deploy the uninstall command.
1. Remove the command in JumpCloud or remove device access to the command from the macOS clients
Remove the command
Use this method if you no longer need the install command in your JumpCloud environment.
Log in to JumpCloud, and in the left navigation panel, select Device Management > Commands.
Select the PaperCut Hive edge node and print client Install macOS V2.0 or PaperCut Pocket edge node and print client Install macOS V2.0 in the list.
Under the Actions column for the command, select the three dots.
Select Delete command. The command will no longer display in the JumpCloud interface.
Remove access to the command
Use this method to keep the install command but prevent specific devices from accessing it.
Log in to JumpCloud, and in the left navigation panel, select Device Management > Commands.
Select the PaperCut Hive edge node and print client Install macOS V2.0 or PaperCut Hive edge node and print client Install macOS V2.0 command.
Go to the Devices tab.
Clear the checkboxes for the devices you want to remove.
Select Save. The command will no longer run.
2. Create and deploy the uninstall command
After removing the command or access to it, you need to create and run a new command to uninstall PaperCut Hive or Pocket client from the end-user computers.
Log in to JumpCloud, and in the left navigation panel, select Device Management > Commands.
Select the + icon, then select Command.
In the Name field, type either
PaperCut Pocket edge node and print client macOS V2.0 uninstallorPaperCut Hive edge node and print client macOS V2.0 uninstall.In the Type dropdown, select Mac.
In the Run As dropdown, select root.
Copy the PaperCut Hive or Pocket script below and paste into the Command field:
PaperCut Hive uninstall script:
#!/bin/bash
# JumpCloud Command Script to uninstall PaperCut Hive and print client on macOS

UNINSTALL_SCRIPT="/Library/PaperCut Hive/Uninstall.command"

# Check if the uninstaller exists before trying to run it
if [ -f "$UNINSTALL_SCRIPT" ]; then
    echo "Found PaperCut Hive. Starting uninstallation..."

    # Run the uninstaller silently using the -y flag
    "$UNINSTALL_SCRIPT" -y

    echo "Uninstallation completed successfully."
else
    echo "PaperCut Hive is not installed on this machine, or the uninstaller is missing."
fi
PaperCut Pocket uninstall script:
#!/bin/bash
# JumpCloud Command Script to uninstall PaperCut Pocket and print client on macOS

UNINSTALL_SCRIPT="/Library/PaperCut Pocket/Uninstall.command"

# Check if the uninstaller exists before trying to run it
if [ -f "$UNINSTALL_SCRIPT" ]; then
    echo "Found PaperCut Pocket. Starting uninstallation..."

    # Run the uninstaller silently using the -y flag
    "$UNINSTALL_SCRIPT" -y

    echo "Uninstallation completed successfully."
else
    echo "PaperCut Pocket is not installed on this machine, or the uninstaller is missing."
fi
For initial testing, set the Launch Event to Run Manually.
Select the Devices tab and select a device you want the PaperCut Hive or Pocket client removed. As a best practice, test the command on one machine first before uninstalling the software from a greater number of devices.
Select Save to save the command.
From the list of commands, locate your newly created uninstall command and select Run Now to execute it. To make sure it has completed the task, to go the Results tab in JumpCloud. You'll see it at the top of the list, click View Details to see the result.
Comments
Comments are not available in this preview environment. On papercut.com, this space shows the live Disqus comment thread for this page.