
Use Advanced Scanning to Lookup email addresses from a CSV
THE PAGE APPLIES TO:
Last updated February 25, 2026
People who scan often need to send the document to another person instead of themselves. With the release of PaperCut MF’s Advanced Scanning , it’s now possible to let users search for email address from a pre-populated CSV file
This article gives you simple, step-by-step instructions on how to use PaperCut MF’s Advanced Integrated Scanning feature to “Lookup email address using a pre-populated CSV file” button.
This setup lets users lookup, and search email addresses from a CSV file directly on the copier screen every time they scan, to return any matching email address to use as the “To” address.
Create a CSV File and save in the correct location
- Header row: All CSV files must include a header row.
- Each column in the header row must have a descriptive name.
- Special characters in column headers may need to be escaped (e.g., using double quotes).
- Default values: By default, the first column in the CSV file is used as the default value displayed to the user.
- To change the default value source, add an exclamation mark (!) at the beginning of the desired column’s header name.
- CSV format: CSV files must adhere to UTF-8 encoding. This ensures proper handling of characters across different languages and operating systems.
- Column display: The device will display a maximum of 4 columns from the CSV file.
- All data within the CSV file (up to 100 columns) is searchable.
- The device will automatically adjust column widths for optimal viewing. However, you can manually specify column widths as a percentage of the total display width by adding a colon at the end of the header rows (e.g., ID=5%, Customer=30%). If you specify a width for only one column, the remaining columns will be evenly distributed.
- Special characters: Use caution when using special characters in your data source CSV, such as
\ / : * ? " < > | ( ) [ ] ; , @. We won’t stop you from using characters that are illegal for a given field type, but the associated scan job will likely fail. For example, your file system will probably stop us from uploading a scanned document with a colon in the filename.
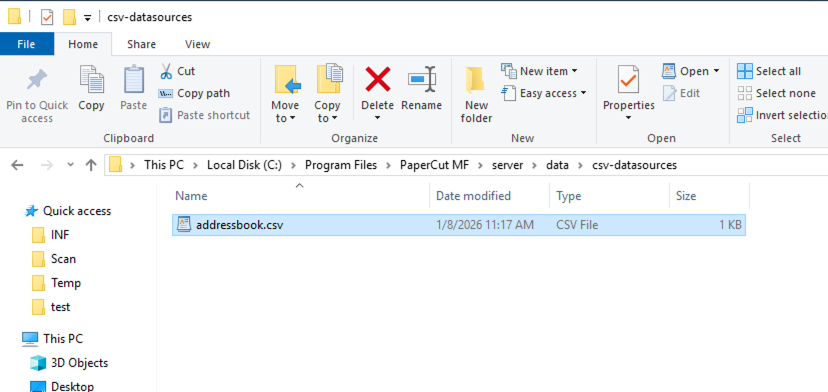
Save CSV files to the designated folder on the PaperCut MF server: [Install Path]/server/data/csv-datasources.
On a 64-bit Windows server running PaperCut MF, this path is C:\Program Files\PaperCut MF\server\data\csv-datasources.
It’s possible to customize this path by editing the security.properties to edit the parameter security.advanced-scan.allowed-directory-list. Refer to the provided readme instructions for modifying this file. Security for advanced features .
Let users Display and Lookup an email address:
- Log into the PaperCut MF admin interface.
- Navigate to Devices, select Scan Actions, and click Create new scan action.
- For the type Type of scan action, leave as Email.
- Set the Label to a descriptive label users will see on the MFD, such as “CSV Lookup email address”.
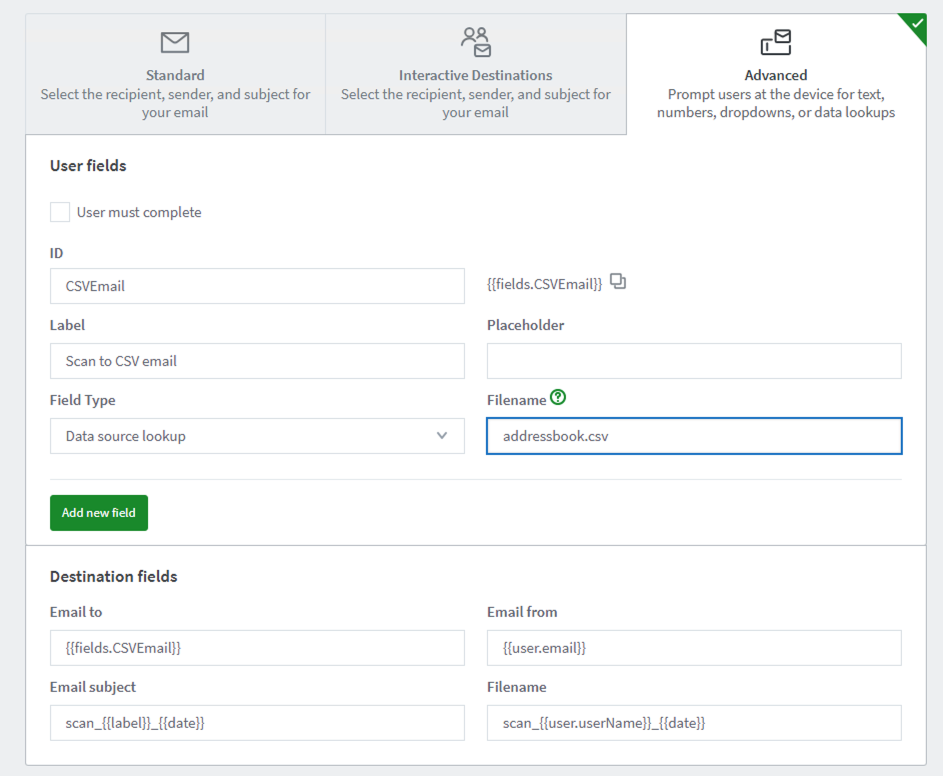
- Under the Metadata section, Choose the Advanced tab to open the detailed configuration options
- Fill out the User Fields. This section creates the text input box for the user on the device screen. Below for example, but you can modify as required.
- ID:
CSVEmail - Label:
Scan to CSV email - Field Type:
addressbook.csv- or name of csv in[Install Path]/server/data/csv-datasources - Placeholder:
Leave Blank - Filename:
All - Email to:
{{fields.CSVEmail}} - Filename:
As required or leave as default - Email Subject:
As required or leave as default - Email from:
{{user.email}} or set email address if required
7. Scroll to the bottom and click Save & configure access.
8. Follow the steps on screen to assign the scan action to a group as needed.
9. Lastly, log onto a copier running PaperCut MF as a user and confirm the scan works as expected.
Now when you log into the device and go to the new scan action you will see the list of users and email addresses from the CSV available to select or you can search for the user.
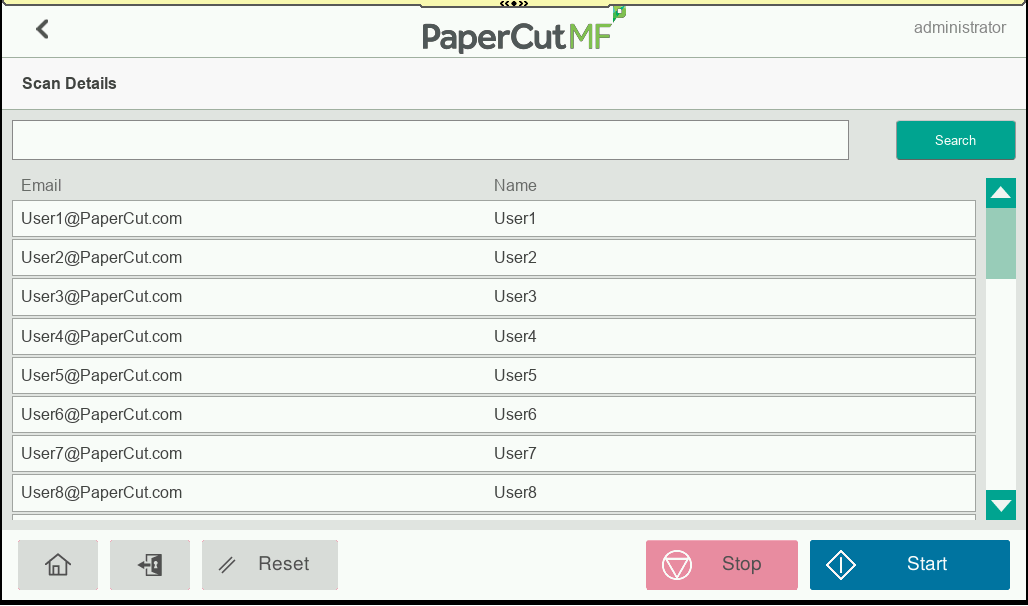
You can add or remove entries from the CSV and as long as the file name is the same and in the same location the list on the devices will be updated on the next scan.
Category: How-to Articles
Subcategory: Integrated Scanning
Comments