
THE PAGE APPLIES TO:
Last updated May 15, 2026
Keeping your server secure is a top priority, and a valid SSL certificate is a key part of that. In this guide, we’ll walk you through installing a new or renewed SSL certificate on your PaperCut MF server running macOS. We’ll use OpenSSL to convert your certificate files into a PFX file, import it into a Java keystore, and then configure PaperCut to use it.
Before you begin
- Terminal access with administrative privileges on your macOS server.
- OpenSSL installed on your server.
- Your SSL certificate files from your certificate provider. You need the following:
- certificate.crt: your server certificate
- private.key: the private key used to generate your certificate request
- ca_bundle.crt: the intermediate/CA bundle (sometimes called a chain file)
Note: File names vary between providers. Check your provider’s documentation if your files are named differently.
Step 1: Prepare your certificate files
- Create a folder on your desktop named CertRenew.
- Copy your three certificate files (certificate.crt, private.key, and ca_bundle.crt) into this folder.
Step 2: Create a PFX file
A PFX file packages your private key and certificate chain into a single password-protected file that PaperCut can use.
-
Open Terminal from your Applications > Utilities folder.
-
Navigate to your certificate folder:
cd ~/Desktop/CertRenew -
Run the following command to create the PFX file:
openssl pkcs12 -export -out certificate.pfx -inkey private.key -in certificate.crt -certfile ca_bundle.crt -
Type a strong password when prompted. You will need this password in the next step.
Step 3: Import the PFX into PaperCut
PaperCut uses a Java utility called keytool to manage certificates. This step imports your PFX into a Java keystore.
-
In Terminal, navigate to the PaperCut JRE directory:
cd "/Applications/PaperCut MF/runtime/mac/jre/Contents/Home/bin" -
Run the import command:
sudo ./keytool -importkeystore -srckeystore ~/Desktop/CertRenew/certificate.pfx -srcstoretype pkcs12 -destkeystore "/Applications/PaperCut MF/server/custom/my-ssl-keystore" -deststoretype JKS -
When prompted, type a new password for the destination keystore.
-
When prompted, type the PFX password you created in Step 2.
Step 4: Configure PaperCut
Tell PaperCut where to find your new keystore file by editing the server properties.
-
Open the server properties file:
sudo nano "/Applications/PaperCut MF/server/server.properties" -
Find the server.ssl section in the file.
-
Remove the # from the start of the keystore lines.
-
Update the lines to match this configuration:
server.ssl.keystore=/Applications/PaperCut MF/server/custom/my-ssl-keystore server.ssl.keystore-password=[Your Destination Password] server.ssl.key-password=[Your PFX Password] -
Press Ctrl+O, press Enter, and press Ctrl+X to save.
Step 5: Restart PaperCut and verify everything works.
-
Stop the server:
sudo "/Applications/PaperCut MF/server/bin/macosx/stop-server" -
Start the server:
sudo "/Applications/PaperCut MF/server/bin/macosx/start-server" -
Open a browser and navigate to your admin console.
-
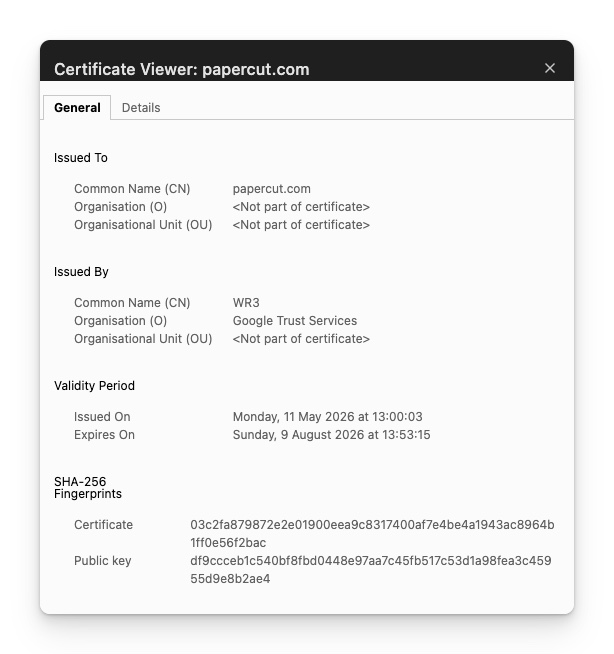
Click the padlock icon to verify the certificate details.
Related articles
- PaperCut MF - SSL Certificates (Windows) - The same process for Windows servers.
- Installing an SSL Certificate the Easy Way (Keystore Explorer) - A GUI-based alternative using KeyStore Explorer.
- Renewing Your SSL Certificate on macOS with Let’s Encrypt - Free certificates via Let’s Encrypt on macOS.
Category: How-to Articles
Subcategory: Installing, Uninstalling and Migrating
Comments