
Share ARM64 Drivers from Windows Print Servers
THE PAGE APPLIES TO:
Last updated September 29, 2025
Windows print servers don’t yet support ARM64 drivers as easily as x86 or x64 ones. This can be a challenge for admins supporting ARM64-based Windows clients, like a Microsoft Surface Pro X or other ARM-powered laptops.
If you’re setting up Windows server-hosted print queues for ARM64 clients, you have a few options:
- Type-4 drivers – Introduced with Windows 8, these built-in drivers work across all Windows versions. They’re basic and might lack some advanced printer features, plus there are a few gotchas to watch out for.
- ARM64 drivers from OEMs – Some manufacturers now provide ARM64-compatible print drivers, but support varies by brand and model.
- PaperCut Global PostScript Driver – Originally designed for Find-Me Printing, our Global Print Driver now supports ARM64 clients, too.
Installing ARM64 print drivers on a Windows print server involves a few extra steps compared to x86 or x64 drivers. This guide walks you through the process.
For more information about ARM64 support across PaperCut products and features check out ARM64 Support across the PaperCut Portfolio .
Installing an ARM Driver
Typically, drivers are added through the Add Printer Driver Wizard in Windows or the Sharing tab for an existing print queue. However, if you select ARM64 as the processor type, you might notice that no drivers are available to select. Don’t worry—here’s how to fix that.
Requirements
- A Windows Server 2022 or greater print server – Microsoft included support for adding ARM64 drivers in Server 2022. We assume if you are reading this you already have a server set up and are sharing print queues. If you need a refresher, see our guide on Adding and sharing a printer in Windows .
- An ARM64-compatible driver – You can download the Global Print Driver from your PaperCut NG/MF server or check with your printer manufacturer to see if they provide an ARM-compatible driver for your printer model.
- The ntprint.inf file – This system file can be copied from an ARM-based Windows computer and is key for installing printer drivers and managing printing-related configurations in Windows. Below, we’ll explain where to find it.
Add an ARM64 driver to a Windows server-hosted print queue
- Log in to the Windows print server.
- Click Start, then begin typing Print Management Console and press Enter.
- Navigate to Print Management > Print Servers > Printers.
- Right-click on the printer you want to edit. Choose Manage Sharing.
- Click Additional Drivers.

- Select ARM64 and click OK.

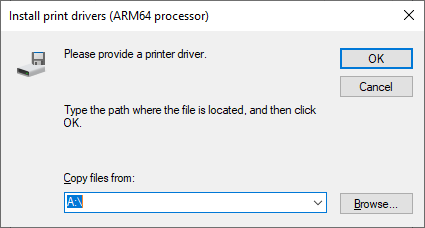
- When prompted to provide a driver, click Browse.
- Navigate to where you saved the vendor’s print driver and select the .inf file. (For the PaperCut Global PostScript Driver, this is pcglobal.inf and on a PaperCut MF server can be found in the directory
C:\Program Files\PaperCut MF\providers\print\drivers\global\win\PC-Global-Print-Driver\). - The next prompt asks, “Please provide path to Windows media (ARM64 processor).” Click Browse.
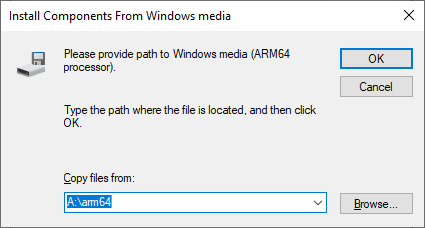
- You’ll need to select a file called ntprint.inf, but where would you find this?
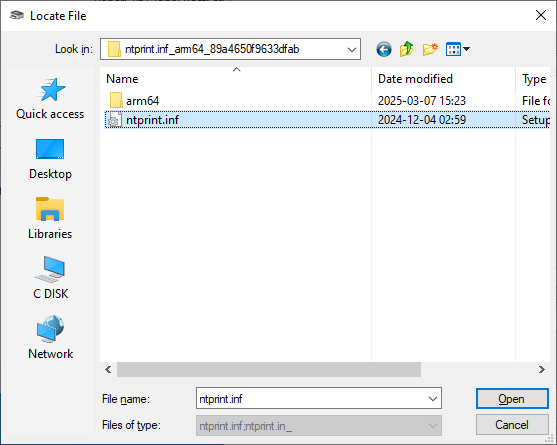
The best way to get this file is to copy it from an ARM-based Windows computer. Jump over to another computer running Windows on ARM, then:- Browse to
C:\Windows\System32\DriverStore\FileRepository\. - Look for the folder that starts with ntprint.inf_arm64*.
- Copy this folder to a directory on your print server so that you can select it when prompted to "…provide path to Windows media (ARM64 processor)."
- Browse to
- Finally, follow any remaining prompts to add the ARM64 driver to the printer.
Category: How-to Articles
Subcategory: Print Queues
Comments