Prerequisites for using this feature
- The template print queues are installed.
- The latest cloner is downloaded and ready to go.
- A CSV file with the printers you want to create in bulk.
1. Install your template printers
Template printers are the printers you install on the computer (the reference computer) on which you will run the cloner. The template printers are referenced in the CSV so Print Deploy can create new printers based on the template printer’s defaults, settings, and capabilities, and specified driver.
You could have 4 or 5 template printers that form the basis of the 2000 printers you’re about to create.
To set up template printers on the reference computer, follow Step 1 in Import classic server-hosted print queues .
Remember to test that printing works!
2. Download the latest cloner
If you’re not already familiar with how to do this, you download the cloner in the PaperCut NG/MF admin user interface:
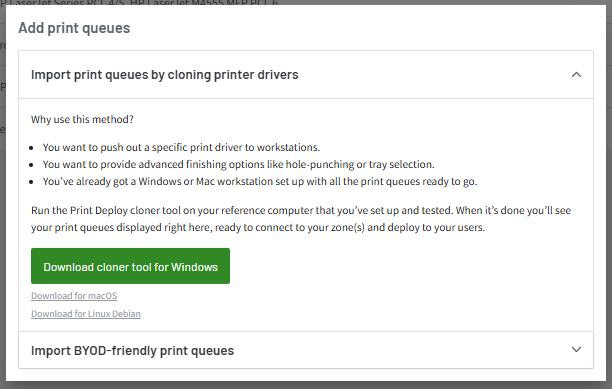
- Go to Enable Printing > Print Deploy > Print queues tab > Add print queues.
- Select Import print queues by cloning print drivers.

- Click Download cloner tool for Windows.
3. Generate and populate the CSV file
To generate the CSV, run the cloner with administrator privileges in a command prompt window. Run the following command to generate an example CSV file that contains the column headers you will need for the columns to be populated for the import later.
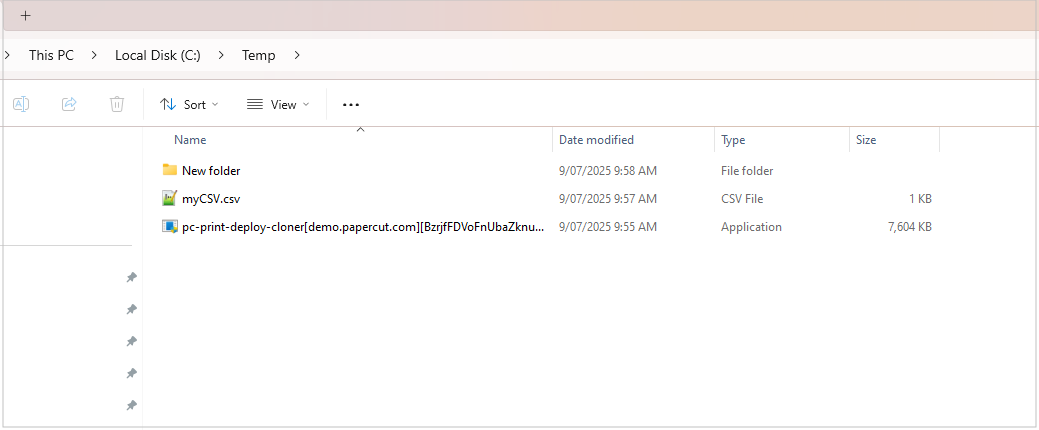
pc-print-depoy-cloner[ipaddress][apikey].exe -g > “myCSV.csv”
Example:
A CSV with header fields is created in the same directory as the cloner executable.

4. Populate the CSV — server print queues
Populate the CSV for server print queues using the information in the table below:
Field | Must be filled in (Y/N) | Description | Example |
|---|---|---|---|
PrintQueueName | Y | The name of the print queue you to create | Office2_Printer |
TemplateQueueName | Y | The name of the template print queue that the settings, defaults and capabilities of the new print queue will be based on | DuplexPrinter |
ConnectionName | Y | Print queue connection name |
5. Populate the CSV — direct print queues
Populate the CSV for direct print queues using the information in the table below:
Field | Must be filled in (Y/N) | Description | Example |
|---|---|---|---|
PrintQueueName | Y | The name of the print queue you to create | HP125_BWPrinter |
TemplateQueueName | Y | The name of the template print queue that the settings, defaults and capabilities of the new print queue will be based on | BWPrinter |
ConnectionName | Y | Can be: hostname, fqdn, IP (ipv4) - Set this to the IP address of the host device - every line name needs to be a unique name. | BWPrinterConnection |
ConnectionHost | Y | Connection host - This is the IP address of the device | 10.50.20.53 |
ConnectionProtocol | Y | Connection protocol - Can be either raw or lpr | raw |
ConnectionNumber | Y | Connection number - Can be either 9100 for raw or 515 for lpr | 9100 |
ConnectionQueue | N | Connection queue - this is a required field if ConnectionProtocol above is set to ‘lpr’ - otherwise leave blank | lp |
ConnectionSNMPCommunity | N | SNMP community | public |
ConnectionSNMPDeviceIndex | N | SNMP device index | 1 |
* DoubleSpool for an LPR queue will be obtained from the TempalteQueue configuration on a reference machine
6. (If applicable) Set up Mobility Print
If you are using Mobility Print servers behind a load balancer, ensure that /pc-mobility-print/data/config/dns.conf.toml contains the following:
MdnsEnabled = false
AccessibleIP = “<host>"
DNSFreeEnabled = true
DNSFreeDiscoveryHostname = “<host>"
7. (Mobility Print only) Populate the CSV
Populate the CSV for Mobility Print queues using the information in the table below:
Field | Must be filled in (Y/N) | Description | Example |
|---|---|---|---|
PrintQueueName | Y | The name of the print queue that currently exists in Mobility Print - needs to be exact name | Floor-1 |
TemplateQueueName | Y | The name of the template print queue that the settings, defaults and capabilities of the new print queue will be based on | bw-printer |
Example:
8. Run the cloner to create your print queues in bulk
For information about the cloner, see About the cloner .

Run the following command to run the cloner with the populated CSV file:
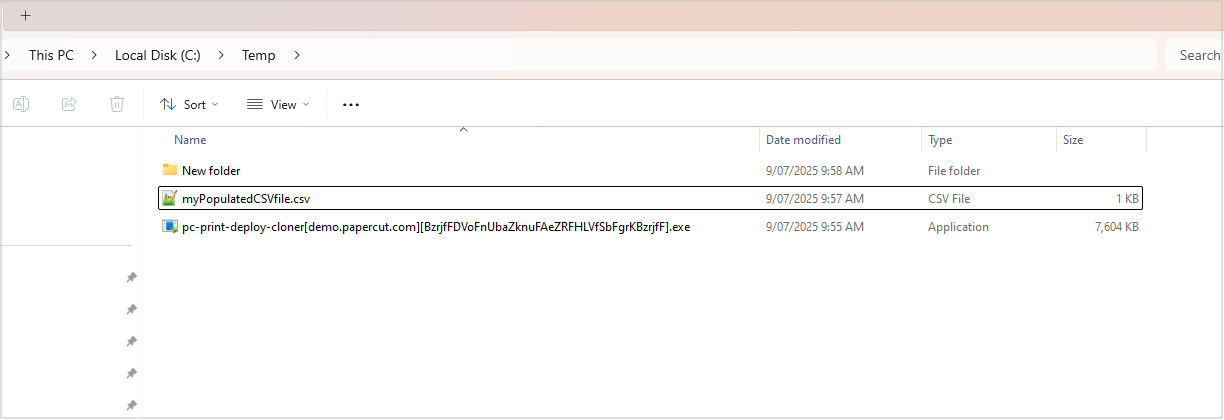
Pc-print-deploy-cloner[ipaddress][apikey].exe -t “myPopulatedCSVfile.csv”
Example:
This command will read in the populated CSV file to create a bundle of print queue information to upload to the Print Deploy server.
Example:
Troubleshooting
I’m ready to clone away, but it somehow stopped.
If your cloner stops working during the cloning process, this might mean that an error has occurred. Log files are created in the same directory as the executable and you’ll be able to find more information there.
Look for log files named: pc-print-deploy-cloner-[datetimestamp].log
Depending on the nature of the error, the error message might also be displayed in the console window.
Example:


Comments