This page explains how to update the appearance of your PaperCut Hive or Pocket organization by adding your own logo and color to the PaperCut Hive or Pocket admin console and User Portal.
Using your own logo and color enhances brand consistency and give users a more personalized experience so they can easily verify they’re using the right software. This is especially helpful for organizations with multiple instances of PaperCut Hive or Pocket.
Where branding can be displayed
You can display your custom logo and color in the following places:
- Admin console navigation bar: Your custom logo is displayed at the top and the PaperCut Hive or Pocket logo is moved to the bottom. Your color replaces the black.
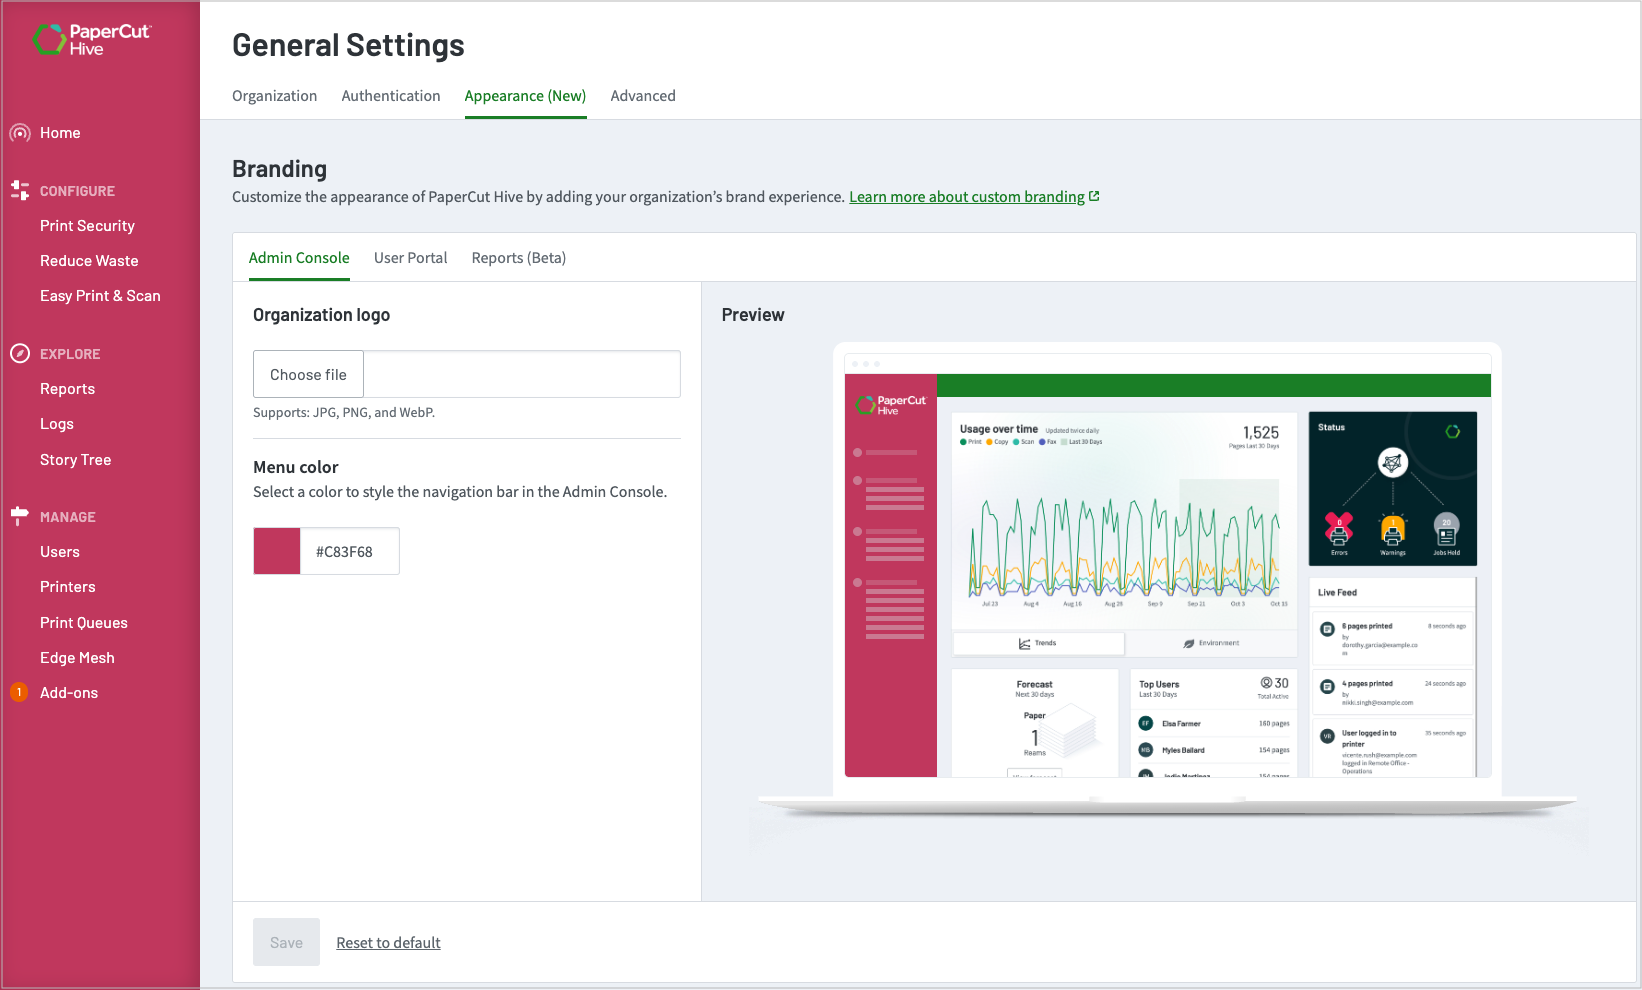
- User Portal navigation bar: Your custom logo is displayed at the top and the PaperCut Hive or Pocket logo is moved to the bottom. Your color replaces the black.

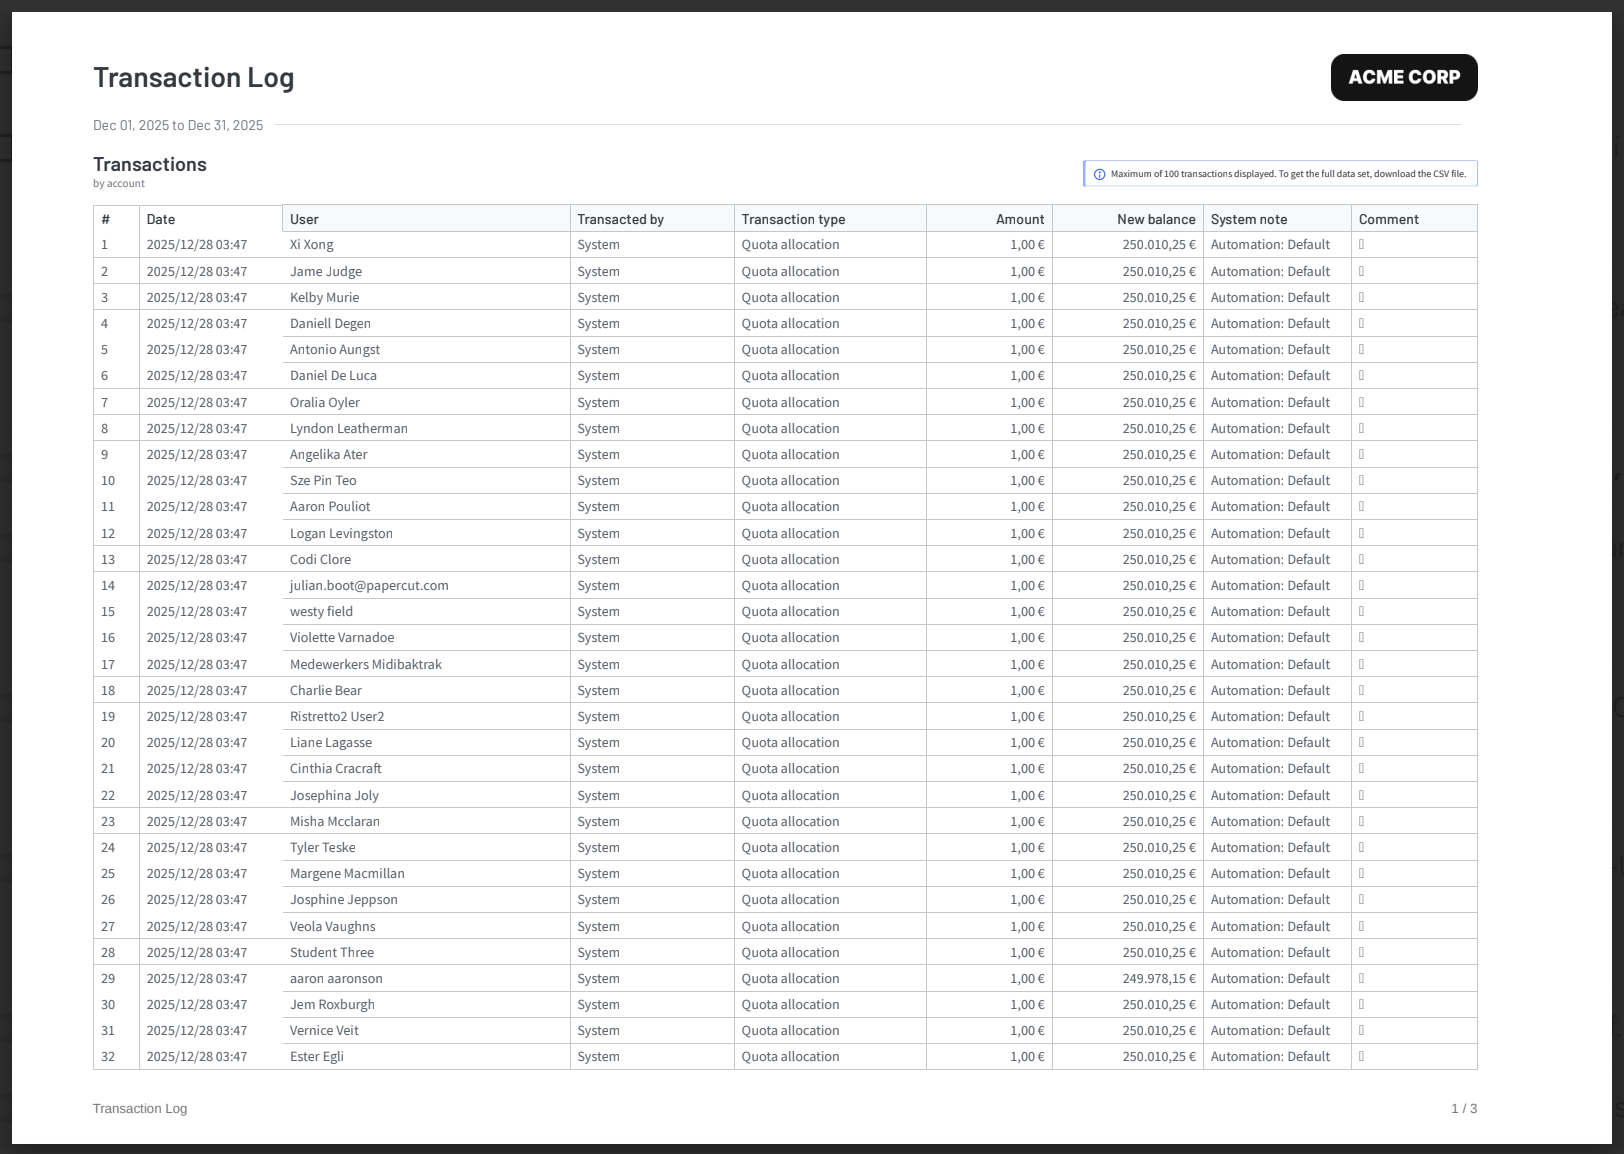
- PDF reports: Your custom logo is displayed at the top right, replacing the PaperCut logo.
Technical specifications for custom logos
For branding to display properly, adhere to the following specifications.
Supported file types
The custom logo upload feature supports the following image file types:
- PNG (.png)
- WebP (.webp)
- JPG/JPEG (.jpg, .jpeg)
We recommend using a PNG or WebP file type.
Recommended image dimensions and size
For the best image display quality, follow these recommendations:
- Dimensions: Upload a logo that is approximately 320 x 80 pixels. Larger images are scaled down, which might affect their clarity.
- Aspect ratio: Maintain a consistent aspect ratio to prevent distortion. A landscape orientation is preferred.
- File size: Keep the file size under 1 MB to ensure fast loading times.
Transparency
WebP and PNG files with transparent backgrounds are supported and recommended for seamless integration with the user interface.
JPG files don’t support transparency.
Best practices for custom logos
- Use a simple logo: Simple, uncluttered logos scale better and remain legible across different screen sizes.
- Use a high-resolution image: Upload the highest resolution version of your logo that meets the file size requirements.
- Check the contrast: Ensure your logo has sufficient contrast with the background color of the admin console, user portal, and report templates.
- Test your logo: After you upload the logo, check how it displays in the admin console and/or User Portal, and/or PDF reports.
Uploading a custom logo or changing the navigation bar color
- In the top-right corner of the PaperCut Hive admin console, click your name.
- Go to Settings > Appearance > Branding.
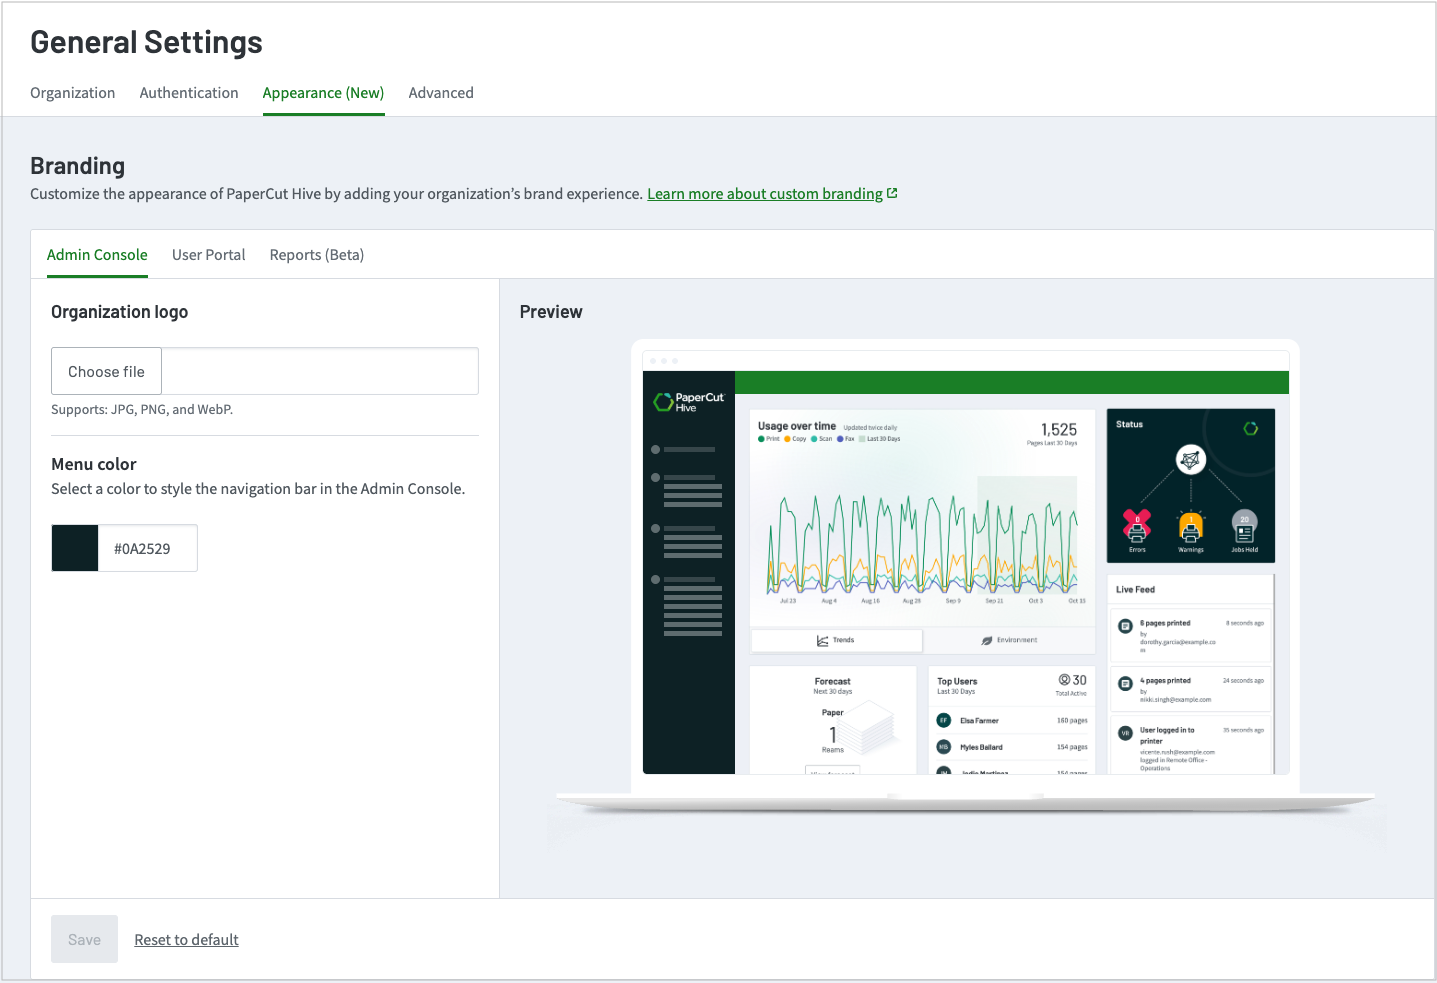
- Select the tab for the interface you want to brand, for example, Admin Console.
- To add your logo, click Choose file and select your logo file. A preview of the logo is displayed.
- To change the color:
- Click the color shown. A selection of preset colors is displayed, along with a box to enter a custom HEX color.
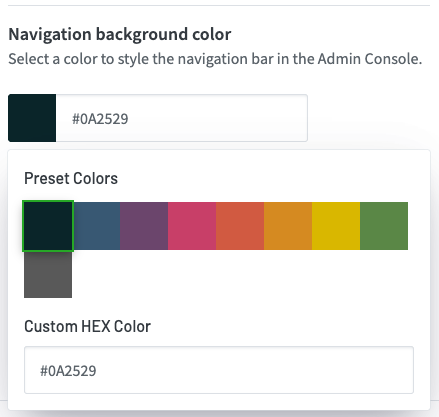
- Select a color or enter a HEX code.
- Click the color shown. A selection of preset colors is displayed, along with a box to enter a custom HEX color.
- Review the preview to ensure it displays correctly.
- Select Save to apply your custom logo and/or color.
Removing a custom logo or resetting the navigation bar color
- In the top-right corner of the PaperCut Hive admin console, click your name.
- Go to Settings > Appearance > Branding.
- Select the tab for the interface from which you want to remove the logo or reset the navigation bar color, for example Admin Console.
- Select Reset to default. The logo is removed and/or the color returns to the default color.
Troubleshooting branding
Logo appears distorted or blurry
Check that the image's original dimensions and resolution are close to the recommended size. Images that are too small or too large can scale poorly.
Re-upload a version of the image that is closer to the recommended dimensions.
Ensure the image's aspect ratio is correct.
Logo does not appear after upload
Clear your browser's cache and cookies.
Try using a different web browser.
Check that you clicked Save after uploading.
Check that the file type is a supported WebP, PNG, or JPG file.
Cannot upload logo file
Check the file size is under 1 MB.
Check that you have administrator permissions to change branding settings.




Comments