It’s easy to deploy the PaperCut Hive and PaperCut Pocket edge node and print client to macOS computers managed by Jamf .
We’ve made an add-on available from the admin console that provides all the necessary steps to push out the required software to your users.
Deploying the PaperCut Hive or Pocket client software to end-user devices
-
From the PaperCut Hive or Pocket admin console, in the left menu select Add-ons.
-
On the Device management tab, locate the Jamf Pro card and click Learn More.

-
Click Add.

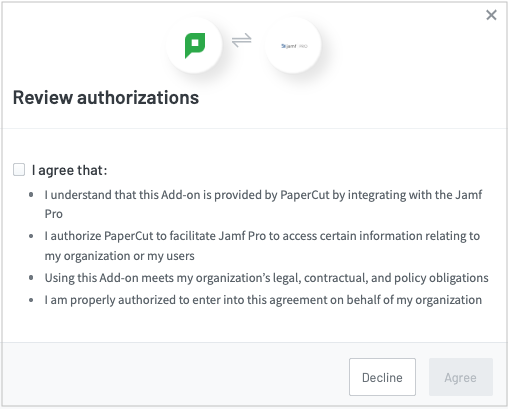
The Review authorizations popup is displayed.

-
Read the points, select the I agree that: checkbox and select Agree to enable this add-on for your organization.
-
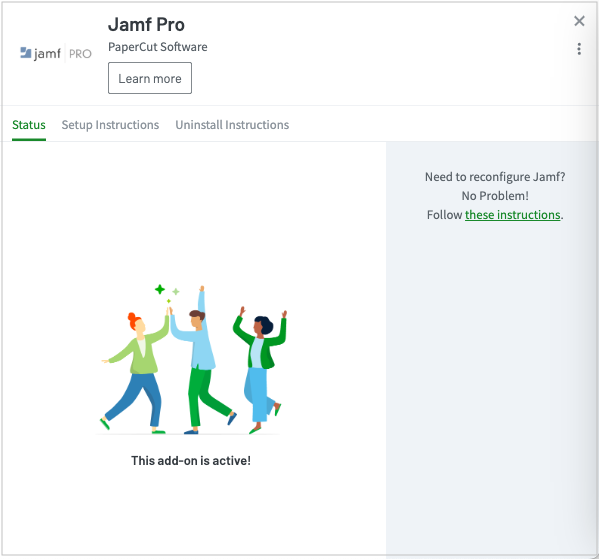
Select these instructions to open the instructions, then walk through the steps in your instance of Jamf.

Post-deployment checks
After you have completed the instructions and deployed to your first computer, you can return to the add-on card and view the Successful deployments so far counter.
If this is still showing zero, spot-check a few macOS computers to ensure the following:
- In Activity Monitor, check the
pc-edgenode-serviceprocess is running.
The computer requires this service to perform Edge Mesh activities such as receiving, replicating, or printing jobs if the PaperCut Cloud Service calls upon it. - In Activity Monitor, check that
pc-print-clientprocess is running.
This is the print client needed to link the end-user to PaperCut Pocket or PaperCut Hive and submit jobs via the PaperCut Printer. This process must be running in memory. It provides the functions the user needs to print jobs via the PaperCut Printer.
If either of these are not running, please contact your PaperCut reseller and provide copies of the logs.
Locations of logs
-
edge node logs — The Setup Log for the edge node service:
/Library/PaperCut Hive/data/logsdirectoryEdge node Setup Log:
Setup Log %date% 00X.txt -
print client logs — The print client logs are located in the:
~/Library/PaperCut Hive/data/logsdirectory
Note: For macOS, since the print client is installed under the user context, so you’ll need to perform either of the below steps to grab the set of logs:
- Open Finder.
- Hold down the Option key when clicking the Go menu. The library will appear below the current user’s home directory
Or
- Open Finder.
- Click on the Go menu and choose Go to Folder.
- In the popup, type ~/Library and press Enter.


Comments